How to build a free website with Astro and Cloudflare Pages using Claude Code
Build a production-grade personal website with Astro and Cloudflare Pages at zero hosting cost. Claude Code handles all setup, configuration, and deployment without needing DevOps experience.
Quick answers
Why does this matter? Astro plus Cloudflare Pages is the right free stack - static sites with zero monthly costs, global CDN delivery, and performance that matches or beats expensive alternatives
What should you do? Claude Code handles the entire build - from initial setup through deployment, writing production-quality code without you writing a single line yourself
What is the biggest risk? No DevOps background required - Claude Code manages configs, dependencies, and Git operations so you can stay focused on content, not infrastructure
Where do most people go wrong? Production-ready in hours, not weeks - full personal site with blog, custom styling, and automatic deployment from one focused session
The assumption is that there are two options for a professional website. Pay a developer several thousand dollars to build it, or sign up for Squarespace and pay monthly fees indefinitely while staying within the limits of their templates. That’s the false choice the industry has sold people for years.
Turns out, there’s a third option.
The site you’re reading right now was built using it.
Fred K. Schott’s Astro plus Cloudflare Pages plus Claude Code. Zero monthly hosting fees. No coding required from me. Proper ownership of every file.
Why this stack is worth your attention
Astro significantly outperforms traditional React frameworks for content-focused sites, and the reason isn’t complicated. Astro generates static HTML at build time rather than shipping a massive JavaScript bundle that has to execute in the browser before displaying anything. Your readers get actual HTML. Fast HTML.
This site handles hundreds of blog posts and achieves perfect PageSpeed Insights scores. Honestly, not because I spent weeks optimizing it, but because the default output from this stack is fast by design.
Cloudflare Pages free tier includes unlimited bandwidth, unlimited requests, 500 builds per month, and global CDN delivery. You’d need to push 16 deployments per day to hit that build limit. That’s probably not your workflow. No credit card required.
Traditional website builders charge monthly subscriptions that compound into real money over time. Which adds up faster than you’d expect. Webflow and Squarespace both require ongoing payments regardless of whether you’re actively publishing. This stack costs you a domain name annually.
So why does replacing a developer make financial sense here? A professional website build typically runs thousands of dollars. A Claude Pro subscription costs a fraction of a single freelance developer hour, and you need one focused session to build a complete site.
Claude vs Copilot - key difference
GitHub Copilot lives inside your IDE and excels at fast inline code completions within established codebases. Claude Code lives in your terminal and operates across entire projects - creating files, running commands, managing Git, and configuring deployments. For building a full website from scratch like this, you need the agentic project-level approach that Claude Code provides, not autocomplete suggestions.
Be honest about limitations, though. Does this work for everything? No. This approach fails for highly interactive applications: admin dashboards, social networks, real-time collaboration tools. If your site needs user authentication or complex client-side state management, use Next.js or Nuxt.js instead.
Also skip this if your team isn’t keen on learning even surface-level technical concepts. While Claude Code means you won’t write code, you still need to understand things like Git repositories, deployments, and build processes at a basic level. If that sounds unappealing, Squarespace will serve you better.
What you need before starting
Five things. Here’s what each one actually does.
Claude Code Pro subscription. The AI that writes your code, handles configuration, and manages deployments. This isn’t autocomplete. Claude Code builds entire projects, configures deployment pipelines, and handles the complexity you’d normally hire a developer for. With Claude Code 2.0, you also get checkpoints for risk-free experimentation, a VS Code extension with inline diffs, and subagents that handle tasks in parallel. Unlike many AI tools that disappear after the hype fades, this one is built by Dario Amodei’s Anthropic with serious infrastructure behind it.
You need a Claude subscription: Pro, Max, Team, or Enterprise. Not available on the free plan. Check current pricing. Get it at claude.ai. Once subscribed, access Claude Code through the command line, the desktop app, or in your browser. Follow the official setup guide. On Mac or Linux, it’s one command: curl -fsSL https://claude.ai/install.sh | bash. On Windows, use PowerShell: irm https://claude.ai/install.ps1 | iex. Verify with claude --version.
Ryan Dahl’s Node.js. The JavaScript runtime Astro requires to build your site into HTML and CSS files. Without it, nothing works. Download from nodejs.org, choose the LTS version. Verify with node --version and npm --version.
Linus Torvalds’ Git. Tracks every change you make, lets you undo when you break things, and syncs your code to GitHub. You will break things. Everyone does. Git is why it doesn’t matter. On Mac, type git --version in Terminal and macOS will prompt you to install it if needed. On Windows, download from git-scm.com and accept the defaults. Verify with git --version.
GitHub account. Stores your code and triggers automatic deployments. Every time you push to GitHub, Cloudflare rebuilds and redeploys your site. Push code, site goes live. That simple. Create a free account at github.com.
Cloudflare account. Free global hosting with unlimited bandwidth on infrastructure that loads pages fast from anywhere on Earth. Sign up at cloudflare.com, no credit card required for the free tier. The Wrangler CLI is optional (npm install -g wrangler) and useful for manual deployments, but GitHub Actions handles this automatically so you may never need it.
If you want to explore how AI tools like Claude Code can save your team time on more than just websites, I work with companies to identify practical AI wins across their operations.
Schedule a conversationBuilding the site
This is where the approach becomes clear. You describe what you want. Claude Code builds it. Actually, that oversimplifies it. You still review everything.
Step 1: Create the Astro project. Open your terminal and go to where you want the project folder. I keep mine in a GitHub folder.
Ask Claude Code:
“Create a new Astro project for my personal website. Use the blog template. Include Tailwind CSS for styling. Set up the basic configuration for a blog-focused site.”
Claude runs npm create astro@latest with the right options, installs and configures Tailwind CSS, sets up the full project structure, initializes Git, and makes the initial commit. Every command is shown with an explanation of why.
Step 2: Customize for your brand. The default template is generic. Tell Claude what you want:
“I want a clean, professional look. Modern typography using Inter font. Simple color scheme - white background, dark text, green accent color (#01803d). Include a hero section on the homepage with a call-to-action button.”
Claude installs Inter font, updates Tailwind with your color scheme, modifies the homepage layout, creates reusable components, and ensures responsive design works on mobile and desktop.
Step 3: Configure your details. Edit src/config.yaml with your information:
“Update site configuration: Name is [Your Name], site URL is [yourname.com], description is [your one-line pitch]. Add my LinkedIn and GitHub profile URLs.”
This updates the metadata search engines read, social media preview content, and site navigation.
Step 4: Create your first post. Ask Claude:
“Create a new blog post template. Show me the frontmatter structure I need. Create an example post about why I am starting this blog.”
Claude creates a markdown file in the appropriate content directory (the exact path depends on your Astro template - commonly src/data/post/ or src/content/blog/) with correct frontmatter. You write the actual content. That part is yours. Understanding how to structure effective prompts makes the whole process faster.
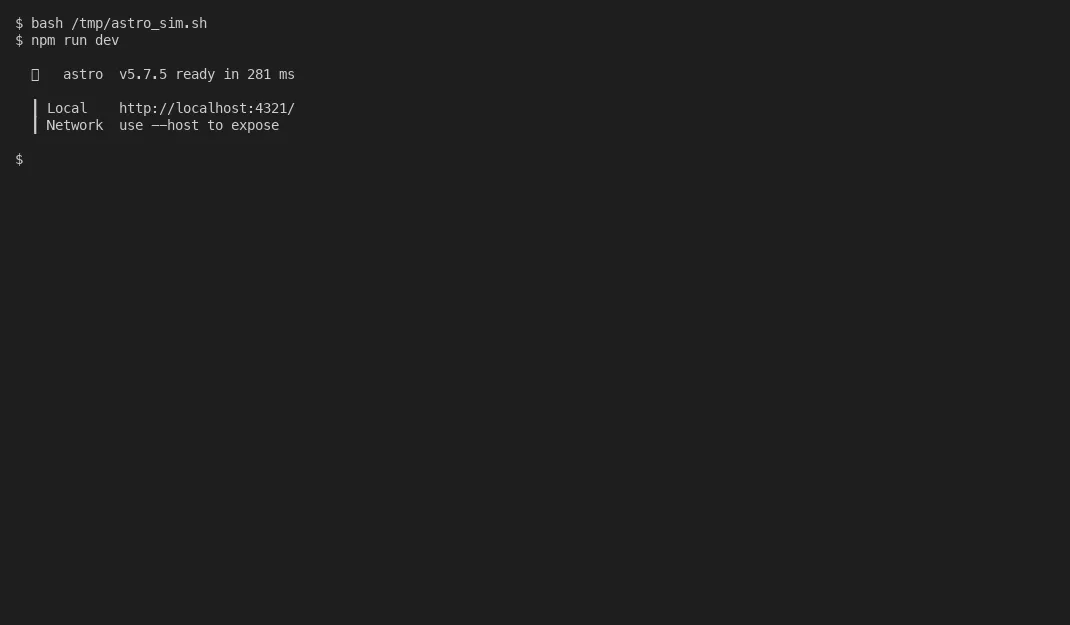
Step 5: Test locally. Before deploying anything:
“Start the development server so I can preview the site locally.”
Claude runs npm run dev. Your site appears at http://localhost:4321. Every change updates instantly.
When you’re satisfied, test the production build:
“Build the site for production and preview it.”
Claude runs npm run build && npm run preview. If this works locally, deployment will work. Don’t skip this step.
Step 6: Push to GitHub.
“Create a GitHub repository for this project and push the code.”
Claude creates the repository via GitHub CLI, adds the remote, commits everything with a proper message, and pushes to main. Your code is now backed up and accessible from anywhere.
Step 7: Connect Cloudflare Pages. Log into your Cloudflare account, go to Pages, click Create a project, and connect your GitHub account. Select the repository Claude created. Use these build settings:
- Framework preset: Astro
- Build command:
npm run build - Build output directory:
dist
Click Save and Deploy. Cloudflare builds your site and gives you a URL: your-project.pages.dev.
Step 8: Set up automatic deployments.
“Set up GitHub Actions to automatically deploy to Cloudflare Pages whenever I push to the main branch.”
Claude creates .github/workflows/deploy.yml with the proper configuration. Add two secrets to GitHub: CLOUDFLARE_API_TOKEN (from Cloudflare dashboard under API Tokens) and CLOUDFLARE_ACCOUNT_ID (from Pages project settings). Add them in repository Settings under Secrets and variables, then Actions.
After that, the entire workflow is: change something, commit, push. Site updates in 2-3 minutes.
The problems that will waste your hours
Real issues from real experience. Learn from my mistakes rather than repeating them.
Smart quotes silently break builds. When you copy text from Google Docs, Notion, Slack, or ChatGPT, those apps insert curly quotes and curly apostrophes. Astro fails on these with cryptic errors like “Expected } but found re” pointing at code that looks perfectly fine. The painful part is that smart quotes look identical to regular quotes in most editors. You can’t see the difference without inspecting character codes.
Before every commit, run:
LC_ALL=C grep -rn '[^[:print:][:space:]]' src/If this returns anything, you have smart quotes. Fix them before committing. Better: turn off smart quotes at the OS level. Mac: System Preferences, then Keyboard, then Text, then uncheck “Use smart quotes.” Windows: usually not enabled by default, but check your editor settings.
Images must be wider than tall. Portrait or square images break the layout. When downloading from Unsplash, check the dimensions. A 2400x1600 image is wider. A 1600x2400 image is taller. Always choose the wider format for blog post hero images.
Test production builds locally before pushing. The development server is forgiving. The production build isn’t. Run npm run build before every commit. If it fails locally, it fails in GitHub Actions, and debugging remotely is harder than debugging on your own machine.
Secrets must actually exist. If CLOUDFLARE_API_TOKEN or CLOUDFLARE_ACCOUNT_ID are missing or incorrect, deployments fail without a clear error message. Verify both are set correctly in repository Settings under Secrets and variables.
Domain setup takes time. SSL certificates take 5-15 minutes to provision after adding a custom domain. For the root domain, you need to point nameservers to Cloudflare. For subdomains, a CNAME record works. A security warning during the provisioning window is normal. Wait.
Maintaining your site over time
You built it. Now you need to keep it running without it consuming your schedule.
For new posts, ask Claude: “Create a new blog post with title [your title]. Use today’s date in the frontmatter. Set up the proper frontmatter structure and let me write the content.” Write the content yourself, then ask Claude to check for smart quotes and push it. Site rebuilds in 2-3 minutes after the push.
I think most people sort of underestimate how light the ongoing maintenance actually is. Once it’s set up, you probably spend 10 minutes per post on anything technical. The rest is writing.
For design changes, describe what you want visually: “Make the blog post headings slightly smaller and add more spacing between them.” Claude finds the CSS, makes the adjustment, shows you a diff so you can review it, and commits when you approve.
For dependency updates, once per quarter ask Claude: “Check for outdated packages and update them to latest stable versions. Make sure nothing breaks.” Claude runs npm outdated, updates packages, tests the build, and commits if everything passes. Mind you, modern web development requires this maintenance. Claude handles it.
The right division of labor makes this sustainable. Use Claude for anything involving code, configuration, build failures, or structural changes to templates. Do yourself: writing actual content, choosing images, deciding what features you need, and reviewing changes before they go live. Claude Code can even run in GitHub Actions to automate code review and issue triage on your repository.
For context on what’s possible beyond the basic template, these are the custom features on this site:
Gooey button effect. Call-to-action buttons use an SVG filter that creates a liquid blob appearance on hover. Based on this CodePen. Mouse-following gradient with touch support and keyboard focus for accessibility.
Interactive gradients. The hero section has an animated gradient background. The footer has a subtle shifting gradient. Both are CSS-only with no JavaScript weight added.
Image optimization. Automatic WebP conversion at build time, multiple responsive sizes for different devices, AVIF format for supporting browsers. Significantly smaller file sizes than JPEG with no visible quality difference. Hard to argue with those numbers.
Performance setup. All CSS inlined at build time to eliminate render-blocking requests. Google Analytics runs in a web worker via Partytown, keeping the main thread free. Images lazy load by default with async decoding.
Each of these was basically built by telling Claude Code what I wanted and letting it write the code. One short conversation per feature.
The site you’re reading costs nothing to host, was built over a focused weekend, and handles hundreds of blog posts without any performance issues. Your site can work the same way. The infrastructure is free. The AI that makes it possible requires a Claude Pro subscription that costs less than a single hour of developer time.
What you build on that foundation is entirely up to you.
Website hosting vs product hosting
Everything in this guide covers hosting a website or blog. Static content that Cloudflare Pages handles brilliantly for free. But if you built an app with a backend, a database, user authentication, or API calls to AI services, that is a fundamentally different problem.
A website serves files. A product runs processes, stores data, and handles user sessions. Cloudflare Pages is perfect for the first. For the second, you need to think about database hosting, serverless functions, authentication providers, and cost scaling.
If you built something more complex with tools like Lovable, Bolt, or Cursor, this guide on hosting your app after building with AI covers the architecture decisions, platform comparisons, and security checklists you will need.
About the Author
Amit Kothari is an experienced consultant, advisor, coach, and educator specializing in AI and operations for executives and their companies. With 25+ years of experience and as the founder of Tallyfy (raised $3.6m), he helps mid-size companies identify, plan, and implement practical AI solutions that actually work. Originally British and now based in St. Louis, MO, Amit combines deep technical expertise with real-world business understanding.
Disclaimer: The content in this article represents personal opinions based on extensive research and practical experience. While every effort has been made to ensure accuracy through data analysis and source verification, this should not be considered professional advice. Always consult with qualified professionals for decisions specific to your situation.